Ever since I travelled to the US for the first time five years ago and I set eyes on Mt Whitney on a overnight stop in Lone Pine I wanted to climb this highest point in the Lower 48. So I was superstoked when this time things all worked out starting from getting permits to the weather playing along to beating the altitude all the way to the top. So… this is how its done in five steps.
1. Find a hiking buddy
I love travelling by myself and hugely enjoy hiking alone, yet Mount Whitney I thought just a tad too risky to do all by myself. I knew the trail was probably superbusy, so there would always be people around, but still I didn’t want to have to rely on strangers in case of an emergency. And with the altitude and the weather and the rather steep descents I didn’t want to take my chance. One option would of course have been to book a Whitney Hike with a trekking agency, yet that was at this time in my travels not really an option budget-wise. So I was superglad I made a friend on my travels who was spontaneously in for giving Whitney a try.
2. Get hiking permits
Hiking Mt. Whitney or anywhere near it for that matter requires a permit and getting the hang of the permit-distribution-system took a little reading up to do, which is why I try to explain how to best get organised here (if you already have a permit, or are only interested in the description of the hike, skip the following four paragraphs)
There are two kinds of permits: Day-Use permits, which allow you to spend 24 hours in the Whitney Zone (which includes pretty much all of the trail starting about a mile from the parking lot at Whitney Portal). This is the permit for all the crazy buggers who hike the 22-mile-roundtrip in one day, usually starting sometime after midnight and hiking all through the night. Although this is an adventure in itself, it was not really what I had in mind, since being on holidays there was really no need for the rush. And also I probably, quite certainly, wouldn’t have been fit enough to get to the top in one go anyway. So what I was going for was an Overnight-Permit, which allows you to spend up to seven days in the Whitney Zone. There is a certain amount of Day-Use and Overnight-Permits issued per every day of the summer season and they are distributed via lottery early in the year and usually sell out by then.
So spontaneously scrambling together a Whitney-excursion sometime in mid-August about a week in advance obviously meant we did need to get permits some other way.
There were two options: One was to just show up at the Visitor Center in Lone Pine. Permits that are not collected on the day they are issued for are being redistributed in a daily lottery at the visitor center. So you basically get ready to go and then wait at the visitor center and hope to get a permit to actually be allowed to go. The other option was to keep checking the permit-reservation-website (recreation.gov), because when someone cancels their permits, they become available for online-reservation again.
I read somewhere in the depths of the internet that chances for either option were not too bad, so we decided to just show up at the the visitor center on our preferred dates and take our chances and at the same time I spent a lot of time refreshing the reservation-website the few days leading up to these dates, hoping for permits to become available. And I actually got lucky: two overnight-permits did become available just for the dates we needed. The universe did well 🙂

Mt. Whitney is prone to thunderstorms and rain and cold temperatures even in August, so you’ll want to know what to expect. The weather was not ideal for the three days we had at hand, but it wasn’t dangerously bad either so we decided to give it a try. We did bring raingear and loads of warm clothes though, just in case, and it turned out we were rather glad we did. There were snowflakes and hail at some stage.
4. Organise your gear
You will want to bring all your usual backpacking essentials even if its just for one or two nights.
- Make sure you have enough bear cans: bears are around in the lower parts of the trail, and further up there are your usual nasty furry little friends trying to have a go at your food.
- Bring some sort of water filtering device and enough Nalgenes to fill up before you head for the summit. Water sources above Trail Camp are non-existent and at an altitude of 4000 meters you should ideally be drinking about 4 liters a day. Dehydration comes quickly, and when you start to feel thirsty you usually have already gone too long without drinking.
- Make sure to bring the Visitor Centers human-waste-disposal-device (which is essentially a plastic bag) and use it. Sounds rather disgusting, is rather disgusting, but given the amount of people camping up there every day of the season, it is unfortunately a necessity.
- Bring a basic first aid kit. Also learn how to regocnize symptons of AMS on yourself and also on others and know what to do to prevent it and what steps to take if you experience it. It can occur at a height as low as 2500 m for some people, and can affect everyone no matter how old or fit or experienced they are.
- Bring sunscreen, hat and sunglasses but also bring warm clothing, it can snow up there even in August.
There are some stores in Lone Pine that rent out equipement and also of course sell it, and there is a quite large food store, where you can stock up on camp food. There is also a tiny store up at the Trail Head, which has some supplies, souvenirs and apparently the best Cheeseburgers (or so I heard, not having tried them myself).
5. Hike some 11 miles and 6,132 ft of elevation to the summit and down again 😉
The 11-mile Whitney Trail is strenuous, though technically rather easy. It’s the elevation gain and the altitude that make it hard. We started off early in the morning after having camped a night down at Lone Pine near the Alabama Hills, and drove up Whitney Portal Rd for the 13 miles to the trailhead at 8,365 ft. (2458 meters). There we parked the car, deposited anything edible or scented in a bear locker , shouldered our packs and hit the trail. The first part of it takes you through some beautiful light forest territory, while making a steady ascent all the while. Wheather didn’t look too bright shortly after noon, and when we reached Outpost Camp, the first campsite, after some 4 miles, we decided to set up camp there, since the forest would at least provide some protection in a thunderstorm. The storm did hit indeed, but blew itself out after some three hours and since it was still early and we didnt fancy having a superlong day on day two, we decided to hike a little further up, leave the trees behind, hike no longer on a dirt trail but rather on solid rock and gravel, and spend the night up at Trail Camp at some 12,000 ft.(3669 meters) of altitude and 6.3 miles on the trail.


But then, after all the obsessing and swearing and making yourself take those rests to drink some water (do make yourself drink, even if you don’t feel thirsty! Because your mind might just want to make you keep slowly moving without the unnecessary hassle of stopping and getting the nalgene out of the pack and unscrewing the lid and move it up to your mouth and drink. Seriously!), then suddenly you glance up from the trail and see the little hut on the summit and the people up there celebrating, taking pictures, dodging their packs and only a few meters further on you are up there too and able to take in that stunning view into the valley, and oh boy, it is quite a sight, even if it weren’t the highest point in the Lower 48 😉 And amazingly enough, it lies only 85 miles from North America’s lowest point: Death Valley National Park.


The Thrifty Campers
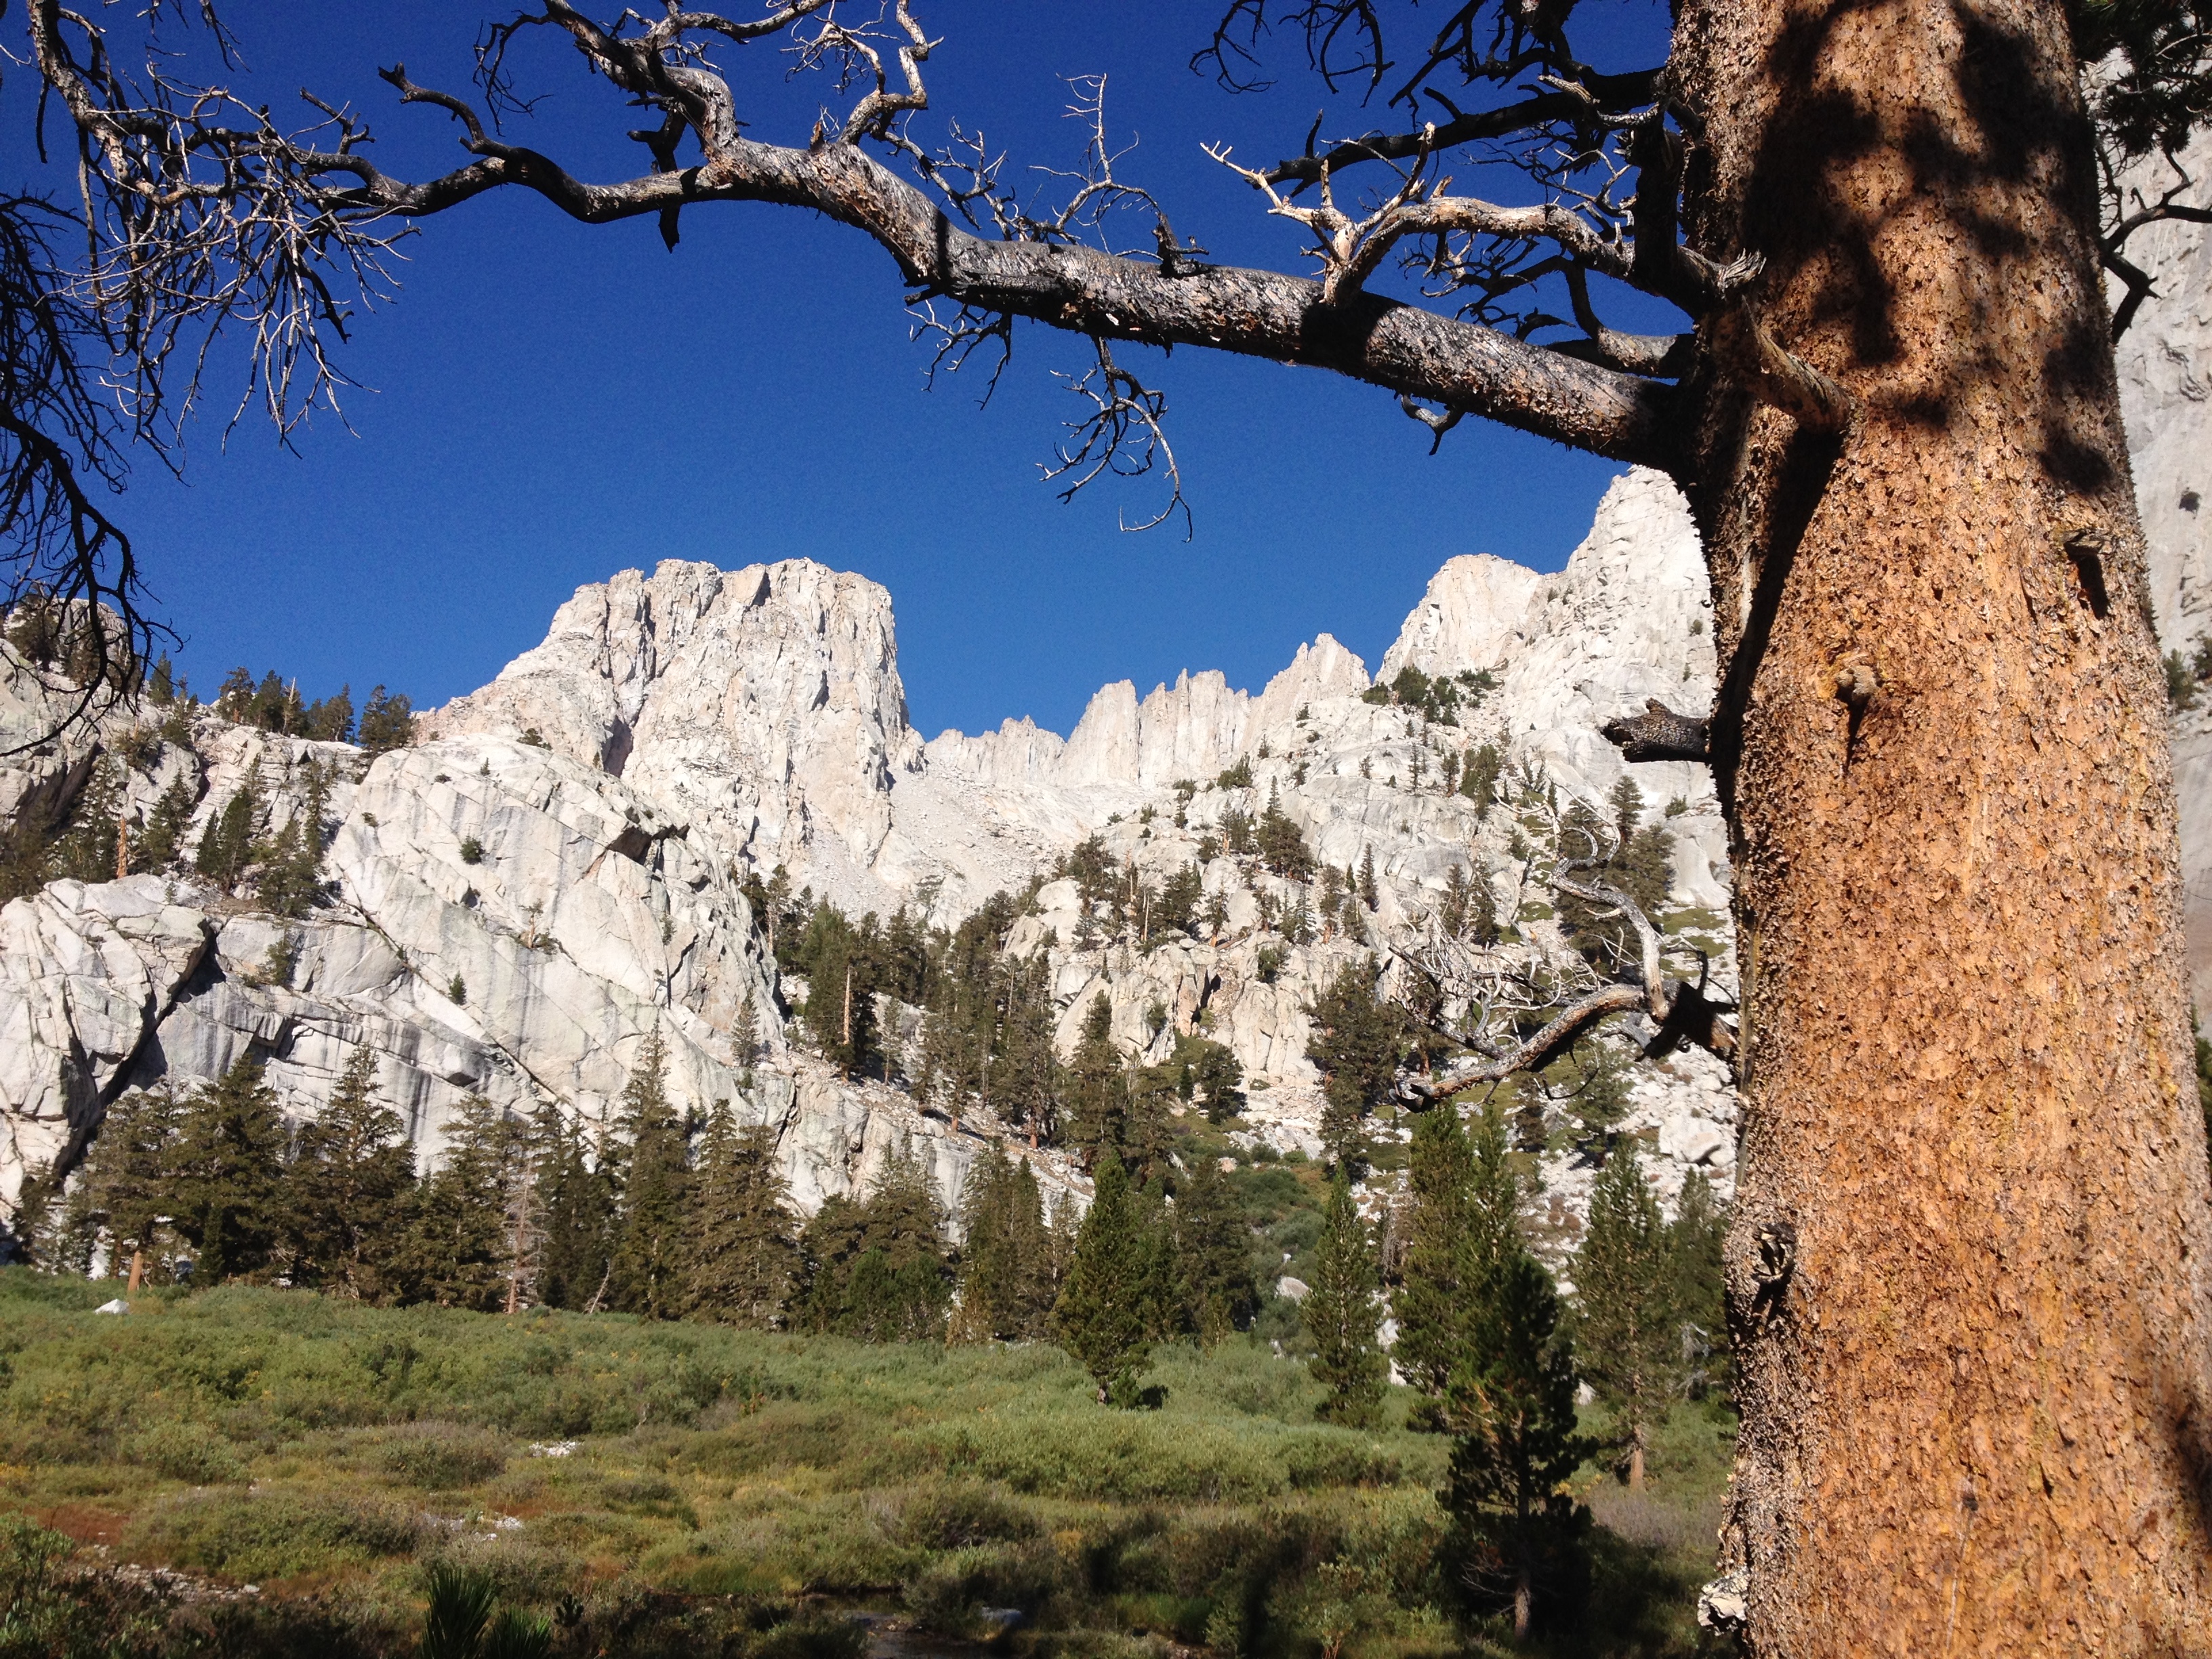
All the rock formations are stunning
LikeLiked by 1 person
Claudia
They are amazing! Such a beautiful place! Have you been up there too?
LikeLiked by 1 person
The Thrifty Campers
No I haven’t but looks like I need to. I’m missing out.
LikeLike